
Step 1: Prepare Your Growing Environment
Set up your grow space and prepare the soil.
Use the “equipment” page for references to products.
Check-list:
- Tent
- Fans
- Timer
- 6-Outlet Electrical Power Strip
- Lights
- Exhaust
- Hygrometer
- Water Bottle (Glass)
- Mycorrhizae (optional)
- Nutrients
- Pots
- Soil
A suggested tent size is 4x2x6 (width, depth, height) to achieve around 4-6 oz from one plant, which will fill the entire area. The 4x4x6 tent will yield closer to 10-18 oz.
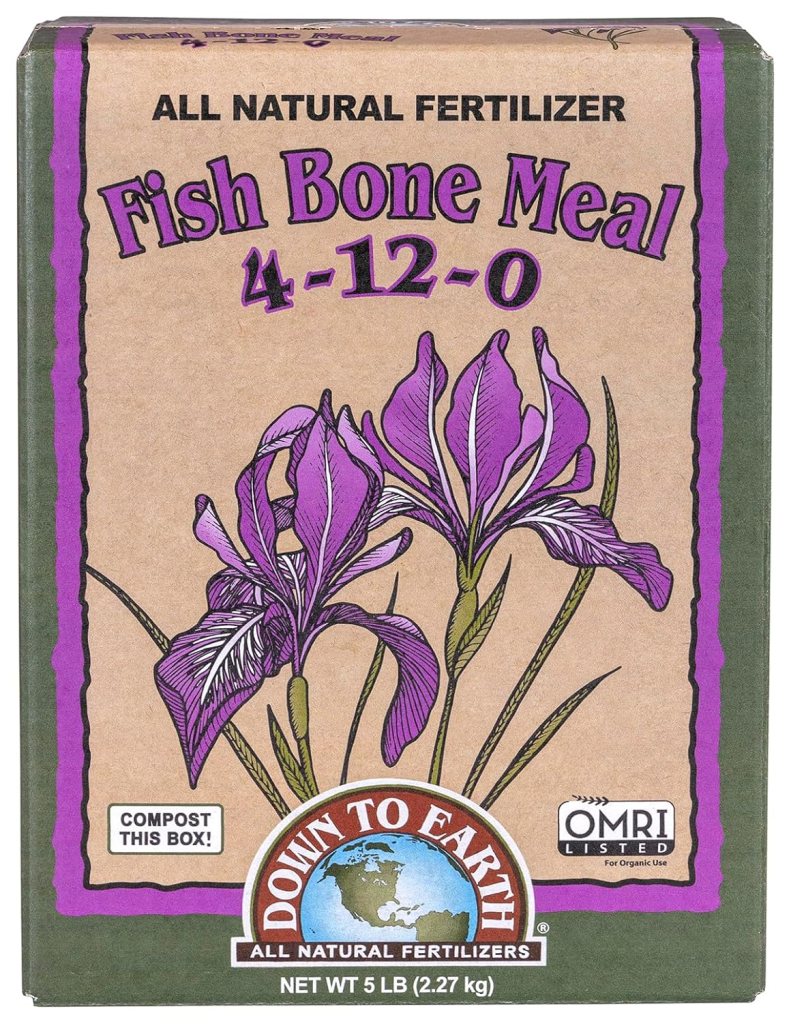
Prepare Soil: Create super soil by using a nutrient-rich base of organic ingredients (worm castings, bat guano, fish bone meal) to feed plants during the vegetative stage by mixing the recommended amount into the soil prior to planting.
- This step regarding super soil is optional and not necessary because nutrients will be added during the feeding schedule but it helps to promote extra strong plant growth.
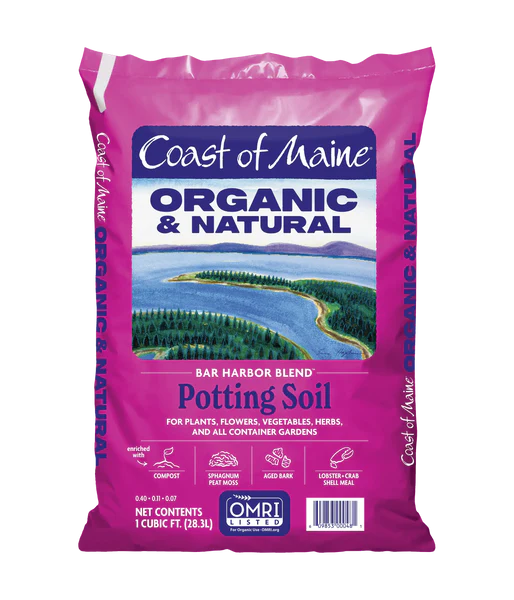
The most important thing during this step is to have clean and good soil from a reputable gardening center or a company that supplies to local farms. You want something that will retain water but still has good drainage. The product “Coast of Maine” soil is a good example.
Hint: Put the soil into the oven on a pan without the plastic bag at 220F for 25 mins prior to adding to containers. The heat kills any bugs or eggs to prevent insects from hatching. Wait until soil is cool before adding to containers or plants. You can add ice cubes after removing from the oven.
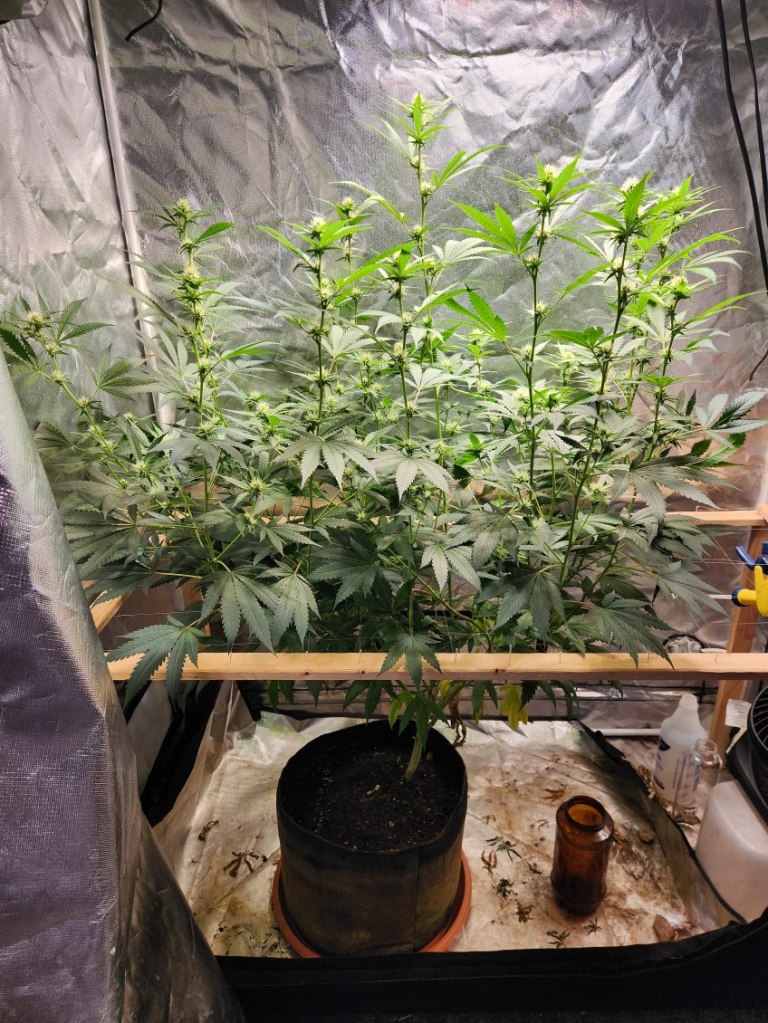
Scrog Net Setup: Install a SCROG (Screen of Green) net early in the vegetative stage for canopy management and better light distribution.
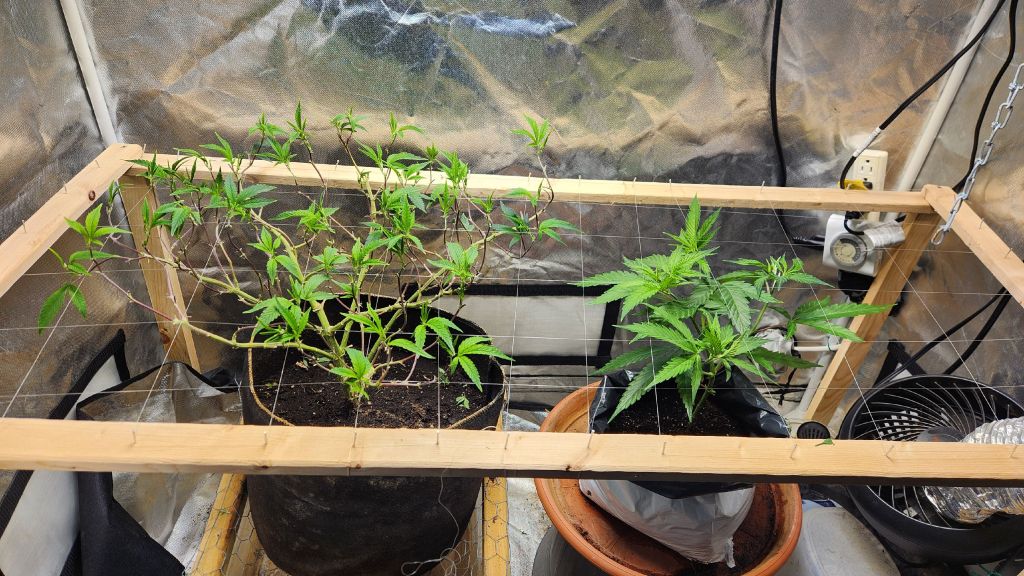
- The SCROG net will help spread out the canopy and allow better light penetration to lower bud sites. You are just installing it at this stage. The plants will fill in the spaces as they grow.
- Fishing line is used because string can fray and stick to the trichomes.
- You can also use PVC pipes instead of boards.
Step 2: Germinate & Plant
Germinate seeds by wrapping in a damp paper towel inside of a plastic bag at 72 degrees or warmer. Close the bag but keep some air inside. Transplant into soil.
- Keep seeds in a controlled, warm environment to encourage sprouting. Once sprouted, move plants into your grow tent under the proper lighting.
- The seed will sprout faster in a warmer environment.
Step 3: Vegetative Stage
Allow time for proper vegetative growth, which can last 4-8 weeks or longer.
Feeding Schedule:
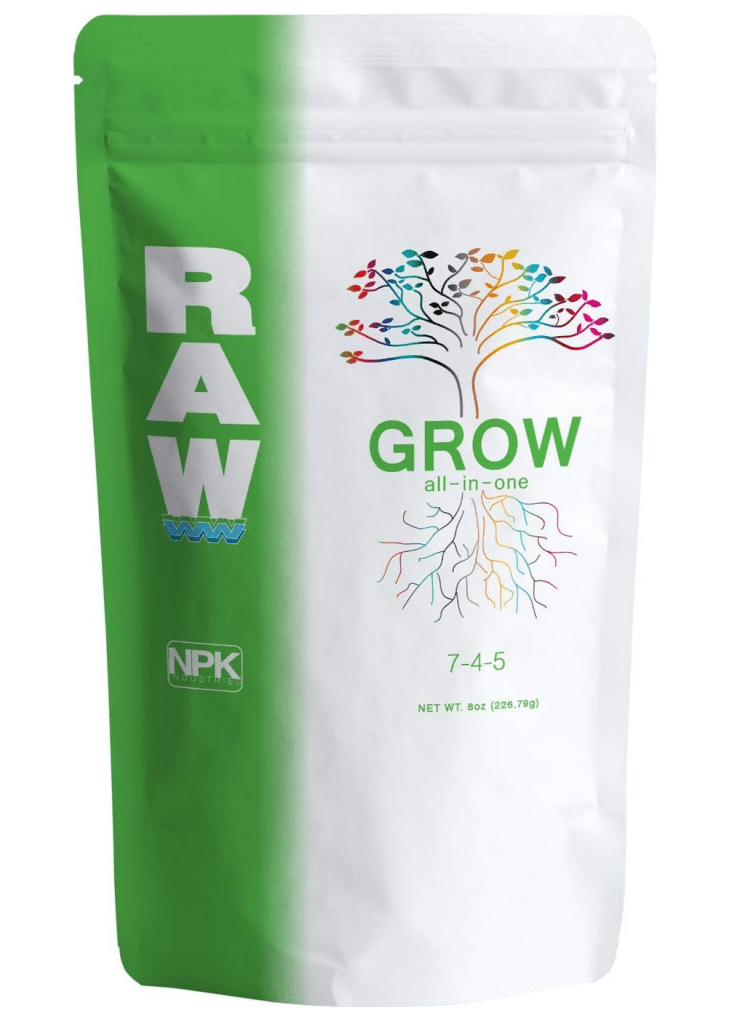
Feed every 1-3 days with 1 teaspoon of “Grow – All In One” from NPK Industries. (The green bag in the picture below).
Ensure the plants are getting enough nutrients but do not overfeed, as this can stress the plant. Regular balanced feeding helps plants grow strong and fast.
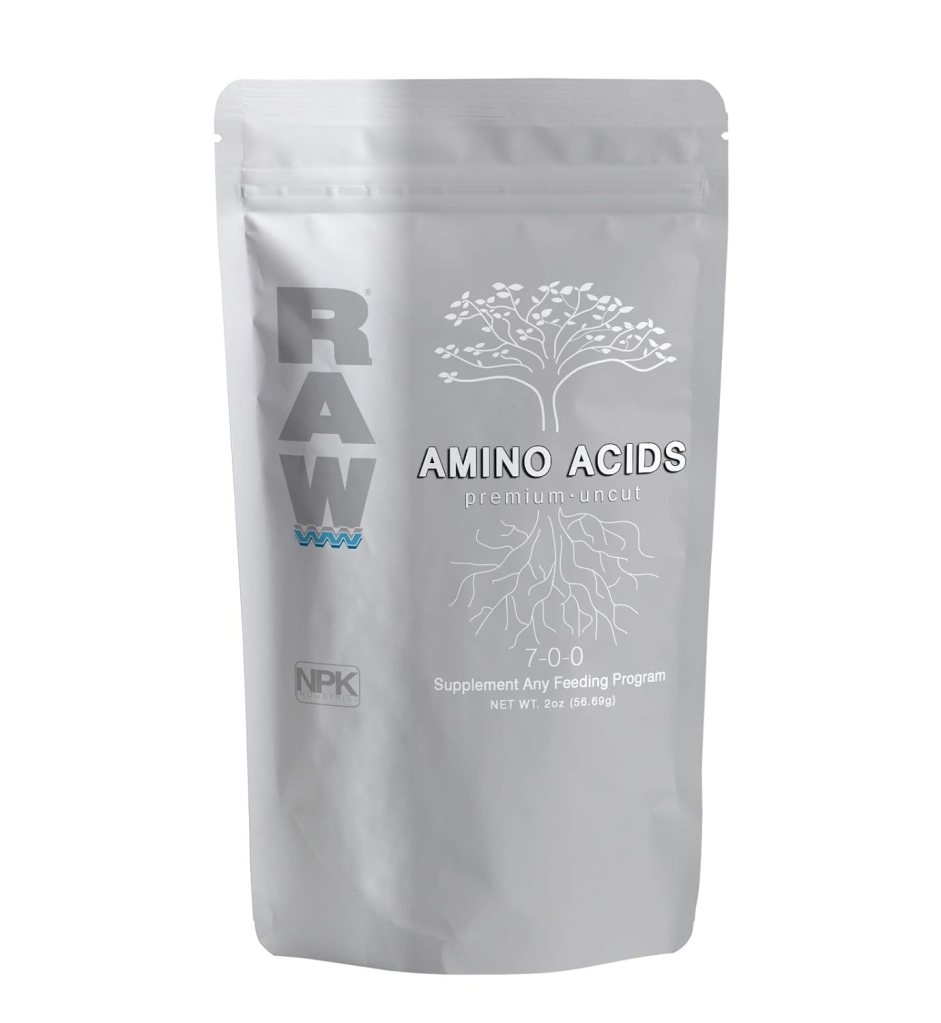
Amino Acids: Use a 1/2 teaspoon of amino acids once a week to prevent mold from growing on the plant, This will help uptake calcium more efficiently making the cell walls so tight that mold spores can’t penetrate. Calcium also helps build strong stems which will hold heavy flowers. (The silver bag in the picture below).
Soil pH: Use this chart below to determine a good range. The color green indicates that the plant can absorb that particular nutrient.
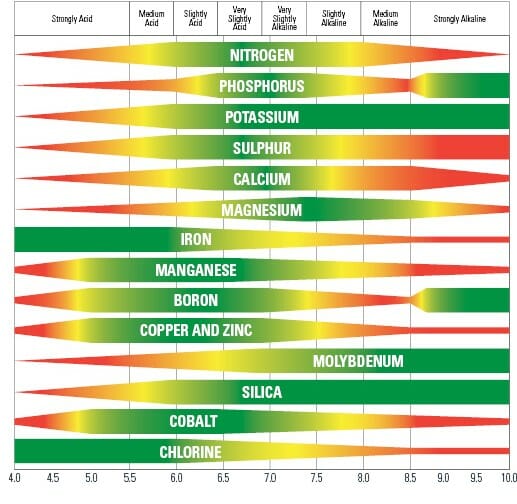
Keep the soil pH between 6.0-6.6 for proper nutrient absorption.
- The plant can experience pH lockout when outside of the proper range making it nearly impossible for it uptake nutrients until the pH is corrected (use chart below).
Note: This is a time for growth, not rushing to flower. Healthy development during this stage ensures a better yield.
Step 4: SCROG
As the plants grow, begin bending and training branches to fill the SCROG net. Weave branches through the net and keep adjusting them to promote horizontal growth.
- Continue to adjust branches as they grow to fill in gaps in the net evenly. (The plant will stop stretching around the 5th week of flowering).
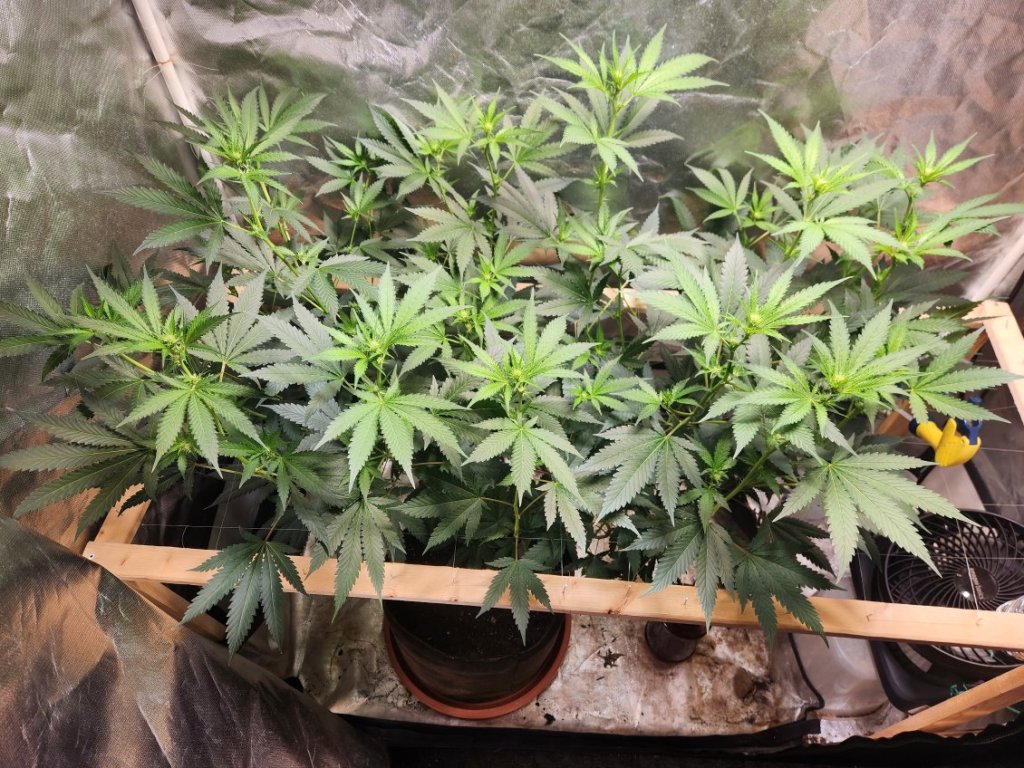
- This helps ensure an even canopy, maximizes light penetration, and improves airflow, reducing mold risk. Some people prefer a double-layer scrog.
Step 5: Flowering Stage
Allow time for proper flowering growth, which can last 8-11 weeks or longer. When transitioning to the flowering stage (around 12 hours of light, 12 hours of darkness), switch your light schedule to promote blooming. Begin adjusting your nutrients to focus on higher phosphorus (P) content for the flowering cycle. The last 2 weeks will be plain water during the “flushing” period. This helps clean the soil of nutrient build-up.
Feeding Schedule:
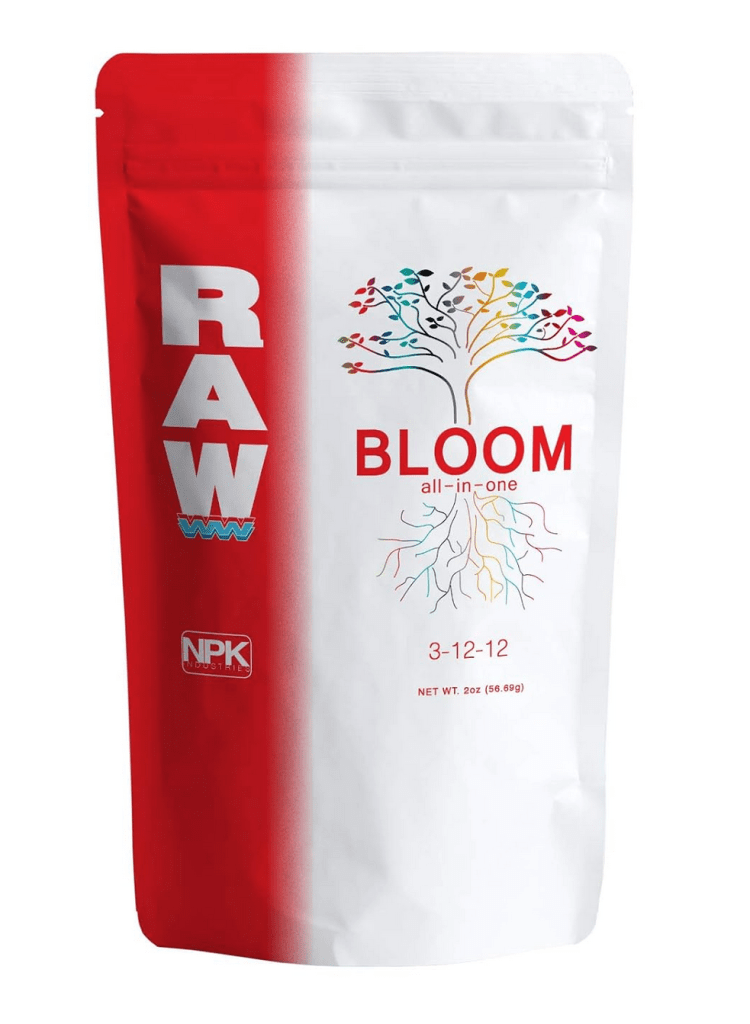
Feed every 1-3 days with 1 teaspoon of “Bloom – All In One” from NPK Industries. Ensure the plants are getting enough nutrients but do not overfeed, as this can stress the plant. Regular balanced feeding helps plants grow strong and fast. Keep the soil pH between 6.0-6.6 for proper nutrient absorption.
Note: Phosphorus supports flower formation, root development, and overall plant health during this crucial stage.

VPD (Vapor Pressure Deficit) chart shows the difference between the moisture in the air and the maximum the air can hold at a given temperature. VPD helps manage plant water uptake, transpiration, and prevents mold.
Step 6: Flushing
Start the flushing process 2 weeks before harvest by watering with just plain water.
- Avoid feeding nutrients during the flush. Flushing helps to eliminate nutrient buildup. It also enhances the flavor and aroma.
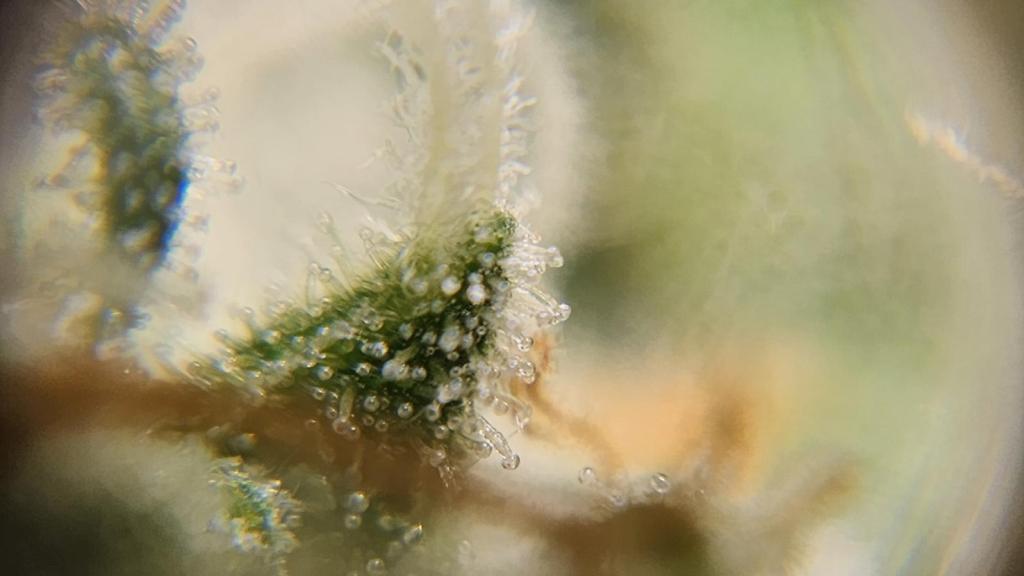
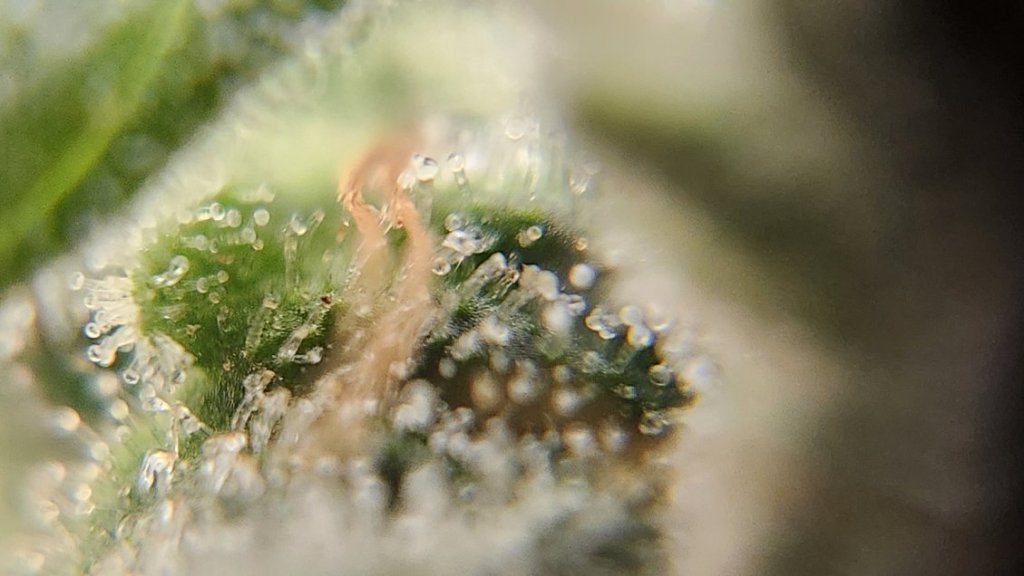
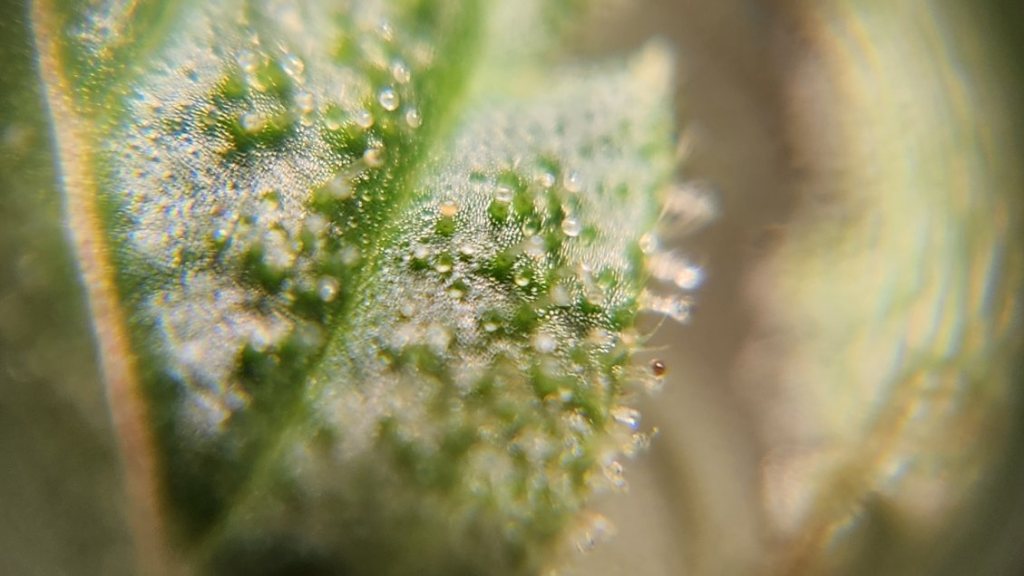
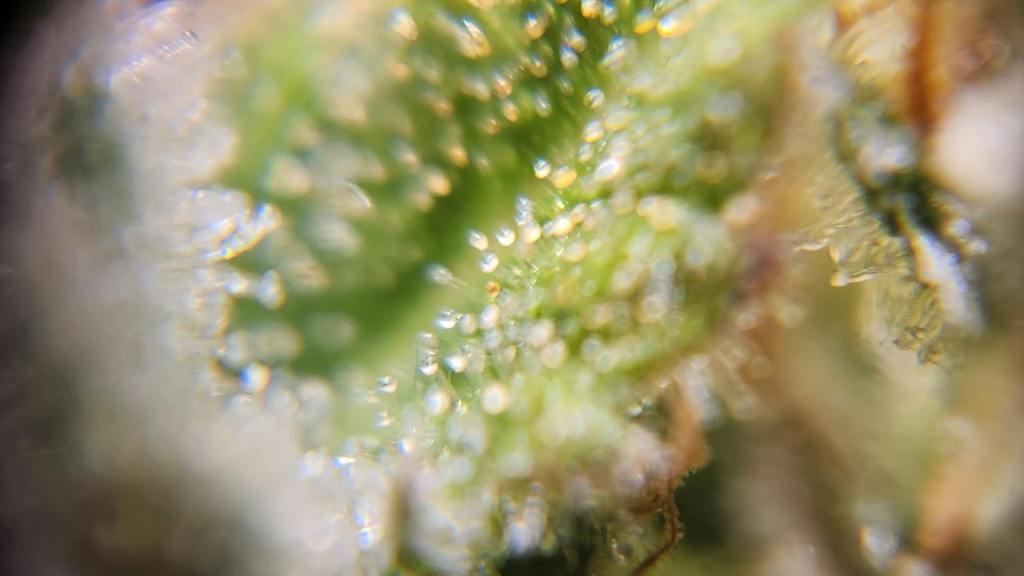
Step 7: Monitor Trichomes
Check trichomes for maturity using a magnifying glass or jeweler’s loupe (60x magnification or higher).

- Clear trichomes: Immature and lower potency; wait for more development.
- Cloudy trichomes: Peak potency and cannabinoid content.
- Amber trichomes: Slight degradation, providing more sedative effects (higher CBN).

Note: Harvest when most trichomes are cloudy with a mix of 20% amber for the best potency and effect.
Step 8: Harvest
Harvest the plants when trichomes are at the desired level of maturity.
Trimming: Remove the fan leaves to be discarded.
- Also, remove the sugar leaves (small leaves with trichomes, not buds) and keep them in a separate pile to dry on a plate.
- You will want to rotate the sugar leaves as they dry to avoid any mold. The drying process for sugar leaves is about 2-3 days.

Clear Trichomes: Wait at least 2 weeks – Don’t Harvest Yet
Partly Cloudy Trichomes: Wait another 3-5 days…
Cloudy with 20% Amber Trichomes: Harvest
Note: Be gentle with your plants to avoid damaging the bud’s trichomes. This is where the cannabinoids are located. Trim excess leaves to prepare for drying. (The trimming process is preferential in terms of how you want the bud to look and is an acquired skill that requires some practice).
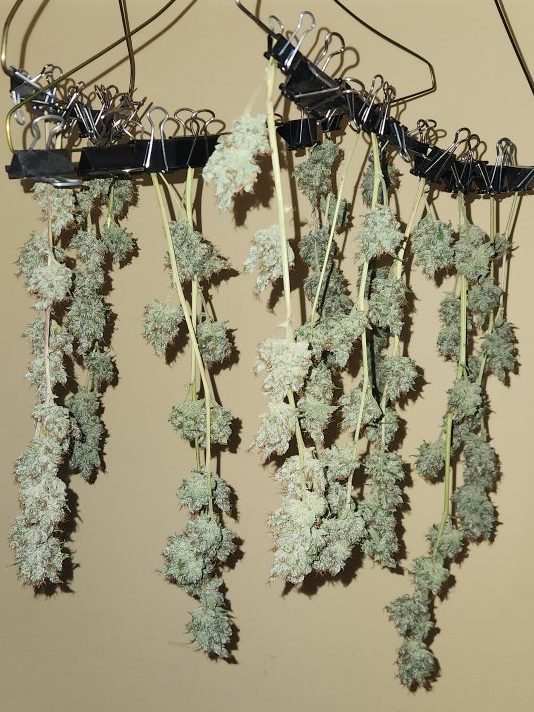
Step 9: Drying
Hang trimmed branches upside down in a dark, well-ventilated area. (This is done the same day as harvesting the plants and after removing the necessary leaves in the step listed above).
Temperature: Maintain 60-90°F. The bud will dry faster at a warmer temperature and lower humidity.
Humidity: Keep humidity around 50-60% to prevent mold growth. (55% is best for smoking and 62% is good for pressing into rosin to make concentrates). Sometimes the air is dry in the winter and often goes below 30% humidity. This is fine but keep in mind that it will cause the buds to dry faster.
- Reminder: The higher the temperature and lower humidity the faster the bud will dry.
- The most important rule is to avoid going over 65% humidity because this can cause mold to grow (The amino acids are used to prevent mold during the growing process. Mold can still occur if the buds are not ventilated properly during the drying and curing stage).
- You can always re-hydrate the buds if they are too dry. You can also add terpenes by adding a drop to the inside lid of a glass jar while it is curing… The terpenes will disperse into the air and back into the bud. This is used as a last resort to preserve flavor
Drying Time: Dry for 4-7 days until the stems snap cleanly.
Note: Slow drying preserves the flavor and potency of the buds because terpenes evaporate at room temperature. For example if you put a drop of terpenes onto a plate it will evaporate into the air.
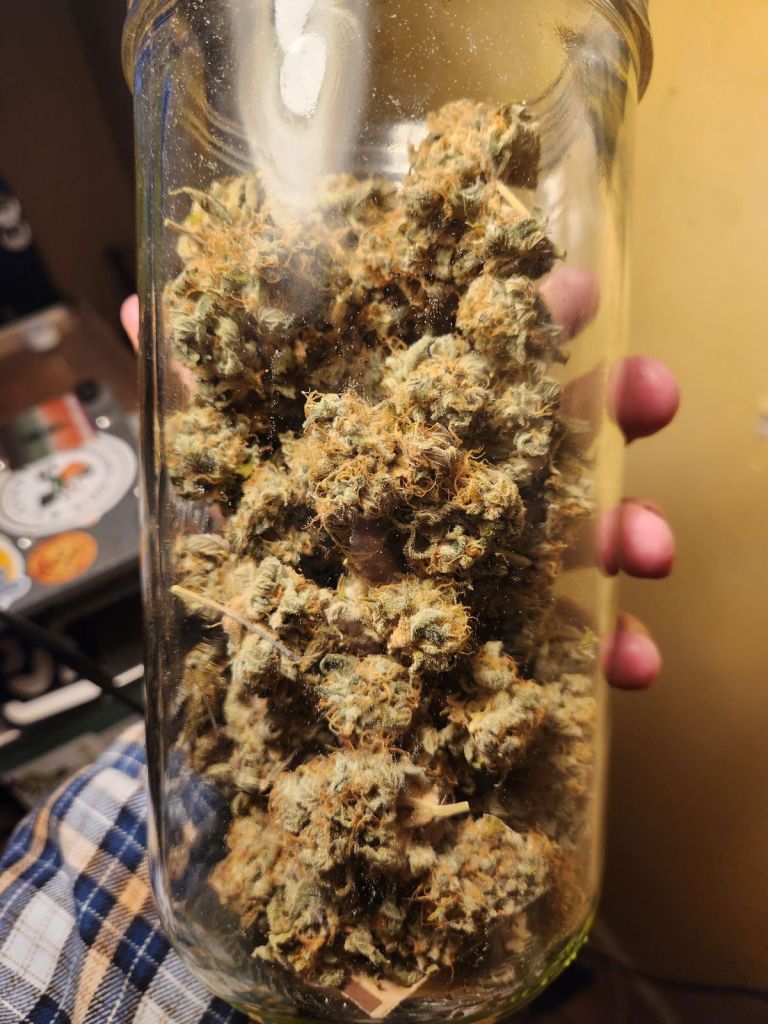
Step 10: Curing
Place the dried buds into glass jars with lids, filling them 3/4 full for airflow. Use “Boveda packs” (humidity packets) to maintain the humidity at 50-62% inside the jars. Close the jars.
Burping Method:
Week 1: Open jars 3-5 times daily for 10-15 minutes.
Weeks 2-4: Gradually reduce frequency to once or twice every 2-3 days.
Note: Curing helps enhance flavor, smoothness, and potency. Allow curing to continue for at least 2-4 weeks for optimal results. It helps to remove the buds from the jars during the first week to rotate the bottom to the top.
Final Notes
Airflow and Humidity Control: Maintain consistent airflow throughout the grow cycle.
- High humidity can cause mold. Refer to the VPD chart in step 5.
- Avoid any wet leaves or towels being laid on the ground… keep a small trash can for leaves nearby outside of the tent.
- Proper airflow supports plant health and better growth. There is something called “vapor lock” that prevents the plant from transpiring similar to not having fresh air to breathe.
- Position a fan to create a slight breeze in the tent. It helps to indirectly have the fan blow air against the tent’s walls as opposed to directly onto the plant because this can cause wind damage.
Lighting: Eliminate all light leaks, including the red power buttons on the electrical outlets. Any light during the dark period can cause re-veg or hermaphroditism (hermie), where the plant re-enters the vegetative stage or produces both pistils and pollen sacs due to stress.
- Unlike the moon’s light spectrum, artificial indoor lights disrupt the plant’s natural cycle. Cannabis evolved outdoors with sunlight and moonlight, not man-made light. Even fire, measured in “foot candles,” can stress plants. If exposed to enough light during flowering—such as from a wildfire—plants may produce pollen sacs to self-pollinate and preserve their genes.
- This is also the reason for “autoflowers” adopting a genetic trait to allow them to flower in places where there is over 18 hours of light during the entire season such as Alaska during the summer.
- Autoflowers can be beneficial but they can’t be controlled in terms of light cycle such as photoperiods that require the light cycle to be less than 12 hours of darkness in a 24 hour period.
Smell: SCROG nets reduce odor by preventing trichomes from rubbing together.
- Gassy strains are stronger-smelling compared to fruity ones.
- Odor is contained with proper techniques. The harvest may emit a brief scent for 12-24 hours but is easily managed with a fan and the use of coffee or popcorn.
- A majority of the plant’s life cycle will smell like fresh clean air by emitting oxygen due to photosynthesis. Don’t let this discourage you from learning a skill that is rewarding for life.
Plant Training: Continue to bend and train plants as necessary to maintain an even canopy and optimize light exposure.
- The plants will stretch almost double in size during the first 4-6 weeks of the flowering phase. –
- It is normal to see plants stretch 12-36 inches during the first 4 weeks of the flowering phase depending on multiple factors such as the size of the plants, strain, light intensity, and feeding schedule.
Patience & Attention to Detail: The growing process takes time.
- Check plants once every day. This process should take between 5-15 mins. You will get faster with practice.
- Monitor your plants carefully, especially during the vegetative stage, to ensure they receive the right care.
- You can achieve the best results from germination to harvest by following this step-by-step guide.
